DIY House Clearance: Simplified Process and Tools
Do-It-Yourself: House Clearance Made Easy
Tackling a DIY house clearance is an engaging activity that keeps your home environment clean and inviting. This article walks you through practical and cost-effective methods for sprucing up your living space, focusing on effective cleaning techniques for carpets, rugs, and the eradication of unpleasant odours and mould. For those who find the task overwhelming or if the amount of rubbish is too much, Mr Junk is at your service. Simply complete their form or send a picture to get a free quote for a fresh start.
Comprehensive DIY House Clearance Guide House clearance is more than a mere clean-up; it’s a rejuvenation of your living space. It involves decluttering, organising, and systematically cleaning each nook and cranny. Regular clearance is key to a tidy and hygienic abode, and eco-friendly practices ensure your efforts are kind to the planet.
Effective Techniques for Cleaning Your House
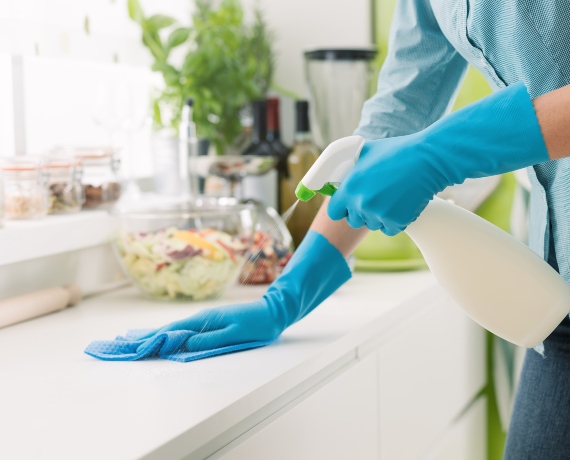
General house cleaning requires a systematic and detailed approach to ensure every part of your home is spotless. Begin the cleaning process by dusting all surfaces, both high and low, to create a dust-free environment. This step is crucial for maintaining air quality and reducing allergens. Following dusting, vacuum all floors and upholstered furniture to remove dirt and debris. This step is essential for keeping your home’s flooring and fabric in top condition.
Next, move on to surface cleaning by wiping down all surfaces with a suitable cleaning agent. Opting for natural cleaning agents is beneficial for the environment and safer for your home, providing a healthier space for you and your family. To keep your home consistently bright and inviting, establish a regular cleaning schedule. This routine will ensure that your home remains in excellent condition, retaining its cleanliness and comfort.
DIY Carpet Cleaning at Home
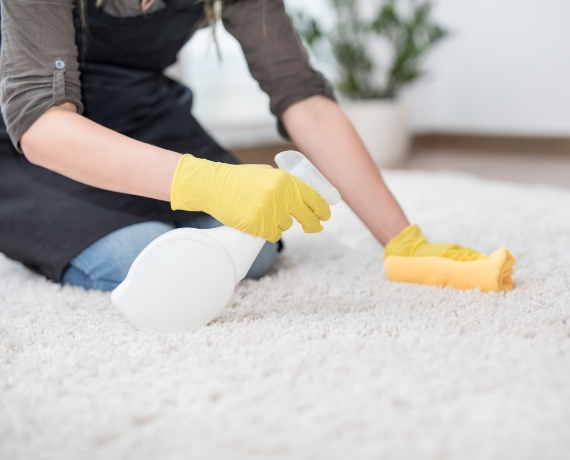
To effectively deep clean carpets at home, start with a comprehensive vacuuming, using attachments to reach into all corners and edges, removing surface dirt and dust. Immediate attention to spills and spots with a homemade solution of equal parts water and vinegar for light stains, or a paste of baking soda and water for tougher stains, can prevent permanent marks. Apply the solution directly to stains, let it sit briefly, then blot with a clean cloth to lift the stain.
For a thorough cleaning, create a mixture of warm water, a few drops of liquid dish soap, or a homemade shampoo consisting of hydrogen peroxide, dish soap, fabric softener, and hot water. This mixture can be used with a carpet cleaning machine or applied by hand with a scrub brush. After shampooing, rinse the carpet with plain water to remove any leftover soap, which could attract more dirt. Finally, remove as much moisture as possible with a wet-dry vac or towels, and use fans or a dehumidifier to dry the carpet completely, preventing mould growth.
Rug Cleaning Techniques for Home Use
Rugs indeed bring a cozy ambiance to any space, yet they often fall victim to the everyday wear and tear of household life. Here’s a comprehensive approach to keeping your rugs in prime condition.
Cleaning Different Rug Types with Home-Based Methods
Each type of rug requires a specific cleaning method to avoid damage:
- Wool Rugs: Vacuum regularly but avoid beaters which can damage the fibres. For a deep clean, use a mild detergent mixed with water, apply with a sponge, and rinse with a damp cloth.
- Synthetic Rugs: These are more durable and can often be cleaned with standard carpet cleaners. However, always test a small area first to ensure the cleaner does not affect the colour.
- Cotton Rugs: Cotton rugs can usually handle a gentle machine wash. Use a mild detergent and cold water setting, then air dry.
- Silk Rugs: These require a gentle touch. Avoid water which can stain silk fibres. Instead, opt for dry cleaning methods or professional services.
Tackling Tough Stains While Preserving Your Rug’s Colours and Texture
- Immediate Action: Act quickly on spills to prevent stains from setting. Blot, don’t rub, to avoid pushing the stain deeper into the fibres.
- DIY Solutions: Mix a solution of water, white vinegar, and mild dish soap as a go-to cleaner for most stains. For tougher stains, like red wine or coffee, baking soda can be sprinkled on the stain after blotting, left to sit, and then vacuumed up.
- Cold Water Rinse: For stains that need rinsing, use cold water to prevent shrinkage or colour running.
- Test First: Always test your cleaning solution on a small, inconspicuous area of the rug to ensure it doesn’t lead to discolouration or texture changes.
Maintaining Your Rugs with Regular Upkeep
- Vacuuming: Regular vacuuming, at least once a week, is essential to remove dirt and dust. For shag rugs, use a hand-held attachment to avoid tangling the fibres.
- Rotation: Rotate your rugs every few months to ensure even wear and exposure to sunlight.
- Professional Cleaning: Depending on foot traffic and use, professional cleaning every 12 to 18 months can restore your rug’s natural beauty.
Mastering Proper Drying Techniques to Avoid Damage
- Avoid Direct Heat: Never place a wet rug in direct sunlight or near a high-heat source, as this can cause shrinking and fading.
- Elevation: After washing, elevate the rug to allow air to circulate freely on both sides. This prevents mould and mildew from forming.
- Patience is Key: Allow your rug to dry completely before placing it back on the floor. This might take a day or more, depending on the rug material and thickness.
- Absorb Excess Moisture: If possible, use towels or a wet-dry vacuum to remove as much moisture as you can before the drying process.
Eliminating Smoke Odour in the House
Smoke odours can be stubborn and pervasive, but with the right approach, they can be effectively removed from your home. Here’s how to tackle the smoky smells using natural remedies, prevent them from penetrating furniture and fabrics, and ensure your home remains fresh.
Natural Remedies for Smoke Odour Removal
- Vinegar: Vinegar is a powerful odour neutraliser. Fill bowls with white vinegar and place them in rooms affected by smoke odour. For fabrics, you can wash them with a mixture of vinegar and water.
- Baking Soda: Baking soda absorbs odours. Sprinkle it generously on carpets, upholstery, and other fabrics, leave it for several hours or overnight, then vacuum it up. This can significantly reduce or eliminate smoke odours.
- Activated Charcoal: Activated charcoal can also absorb odours. Place bowls of activated charcoal around the room or use charcoal filters in your air vents.
- Coffee Grounds: Fresh coffee grounds can absorb smoke odours. Place bowls of grounds around your home, and the coffee will soak up and neutralise bad smells.
- Essential Oils: Essential oils like eucalyptus, lavender, and tea tree oil can mask and neutralise smoke odour. Add a few drops to a spray bottle filled with water and spritz around your home for a fresh scent.
Preventing Smoke from Seeping into Furniture and Fabrics
- Clean Surfaces: Wash all surfaces with a solution of warm water and mild detergent. This includes walls, cabinets, doors, and window frames, which can all harbour smoke particles.
- Steam Clean: Steam cleaning upholstery, curtains, and carpets can help remove smoke smells that have penetrated the fabric.
- Protective Covers: Use covers on furniture that can be easily removed and washed to prevent smoke odour from becoming trapped in the fibres.
- Air Purifiers: An air purifier with a HEPA filter can capture smoke particles from the air, reducing the chance of odours settling into your furniture and fabrics.
Maintaining a Fresh-Smelling House
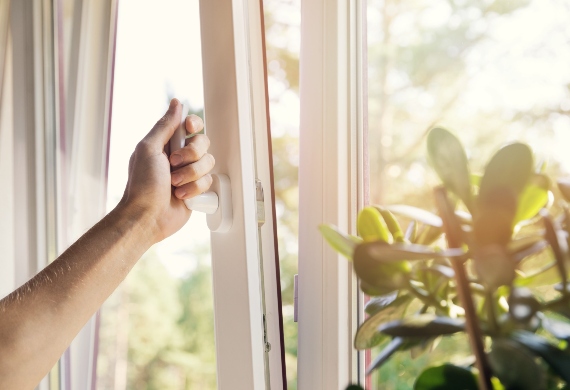
- Ventilation: Open windows and doors to allow fresh air to circulate. This is one of the most effective ways to reduce smoke odour in your home.
- Regular Cleaning: Regular dusting and vacuuming can remove smoke particles from surfaces and prevent the smell from becoming entrenched.
- Indoor Plants: Some indoor plants can help purify the air, though they should be used in conjunction with other methods for best results.
- Odour Absorbing Gel: These gels can absorb smoke odour and leave a fresh scent. Place them around your home to maintain a pleasant smell.
By using these strategies, you can effectively eliminate smoke odour in your house, ensuring it stays fresh and inviting. However, for persistent odours or after a fire, it may be necessary to consult a professional cleaning service that specializes in smoke and odour removal.
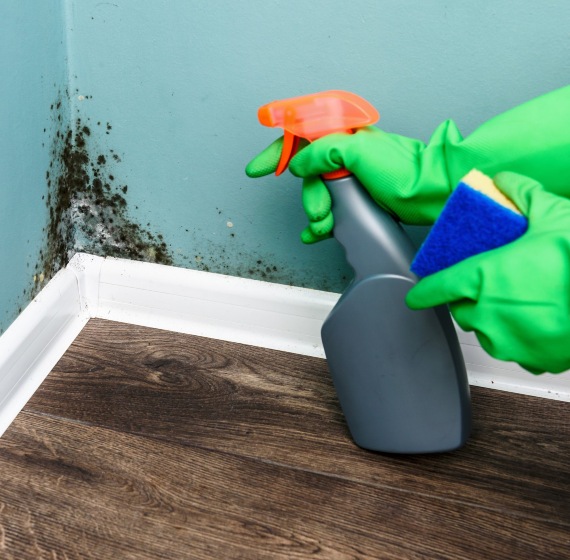
Dealing with Wall Mould Effectively
If you have a mould outbreak, it’s imperative that it be dealt with in a way that is safe for your and the environment. Here’s how to tackle mould using DIY methods:
Preparation: Before you begin, ensure the room is well-ventilated. Open windows and doors. Wear protective gloves, a mask, and goggles to prevent inhaling spores or coming into contact with mould.
Vinegar Solution: White distilled vinegar is a widely available natural mould killer. Apply it undiluted to the affected area, let it sit for an hour, and then wipe clean with water. Vinegar can kill up to 82% of mould species.
Baking Soda: Mix baking soda with water to form a paste and apply to the mould. Baking soda is a mild, white mineral powder, that can help to kill mould and absorb moisture.
Hydrogen Peroxide: Spray 3% hydrogen peroxide from a bottle onto the mouldy surface and leave it for around 10 minutes. Scrub clean, then wipe the surface dry.
Strategies to Prevent Mould Growth
Preventing mould growth involves controlling the moisture levels in your home and ensuring good air circulation:
- Regulate Humidity Levels: Aim to keep your home’s humidity levels between 30% and 50%. Use a dehumidifier if necessary, especially in damp areas like basements.
- Ensure Proper Ventilation: Use exhaust fans in the bathroom and kitchen. Make sure that clothes dryers vent outside and that the ventilation in your home is not blocked.
- Fix Leaks: Regularly check your home for leaks and fix them promptly. Pay attention to roofs, windows, and pipes.
- Dry Wet Areas: Wipe up spills and dry out wet areas within 24-48 hours to prevent mould from taking hold.
Natural Mould Removers to Keep Your Walls Clean and Your Air Quality High
Natural solutions not only remove mould but also maintain the quality of your indoor air:
- Tea Tree Oil: A natural fungicide, tea tree oil can be used in a spray solution on mouldy areas. Mix two teaspoons of tea tree oil with two cups of water, spray on the affected area, and do not rinse.
- Grapefruit Seed Extract: Similar to tea tree oil, grapefruit seed extract can be used to fight mould. Mix about ten drops with a cup of water and spray onto the mould. It’s odourless and also acts as a disinfectant.
- Essential Oils: Oils like clove, cinnamon, thyme, and oregano have mould-fighting properties. They can be mixed with water or a carrier oil and applied to affected areas.
Using these methods and strategies can help you tackle mould effectively and safely, while also keeping your home’s air clean and healthy. Remember, if mould covers a large area or you’re dealing with toxic black mould, it may be safer to consult a professional.
Organising Post-Clearance: Keeping Your House Tidy
After a good clear-out, keeping your space tidy is paramount. Efficient storage solutions and decluttering habits can promote a serene and orderly home environment, supporting mental well-being and a structured lifestyle.
Safety Precautions During DIY Cleaning
While DIY can be rewarding, safety is important. Always use cleaning agents and equipment correctly to avoid mishaps. Protective gear and adherence to product instructions can prevent accidents.
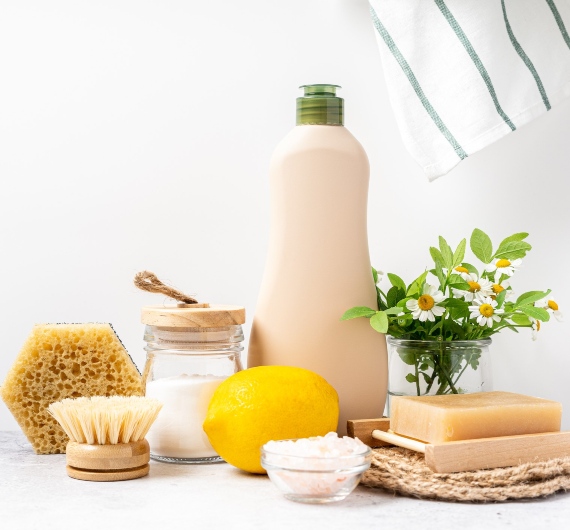
Eco-Friendly DIY Cleaning Practices
Green cleaning isn’t just a fad; it’s a lifestyle change that benefits both the environment and your health. Discover the joys of making your own natural cleaners and embrace sustainable cleaning habits for lasting benefits.
FAQ Section
- What are the essential steps in a DIY house clearance?
- Essential steps in DIY house clearance include decluttering, organising, cleaning, and disposing of waste responsibly.
- How often should I conduct a general house clean?
- A general house clean is typically recommended weekly, with a thorough deep clean seasonally or as needed.
- What are effective DIY methods for deep cleaning carpets?
- For deep cleaning carpets, consider using baking soda, vinegar, and gentle scrubbing techniques.
- Can I clean all types of rugs at home, and how?
- Most rugs can be cleaned at home with the right approach, considering the material and type of stain.
- What are the best ways to eliminate smoke odour from my house?
- To eliminate smoke odour, use vinegar, baking soda, and ensure proper ventilation.
- How do I identify and get rid of mould on my walls?
- Identify mould through discolouration and musty odour; remove it with vinegar or hydrogen peroxide.
- What are some effective organising tips post-house clearance?
- Post-clearance, use labelled boxes, drawer organisers, and regularly review items to avoid clutter.
- What safety precautions should I take while cleaning?
- Wear protective gloves, ensure good ventilation, and follow product guidelines while cleaning.
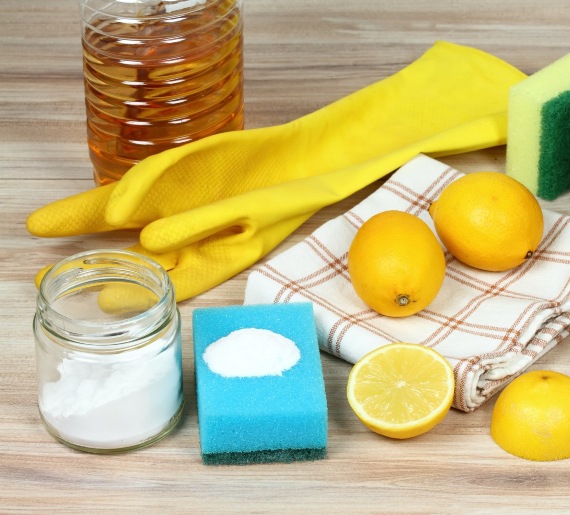
- How can I make my own eco-friendly cleaning products?
- Homemade eco-friendly products can include vinegar, baking soda, and lemon juice mixtures.
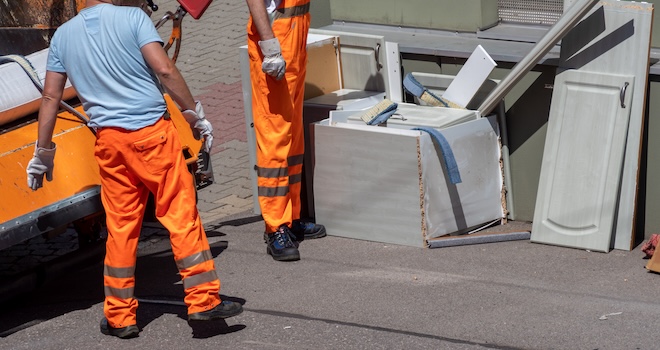
- If there is simply too much stuff to remove, can I book a house cleaning service in Glasgow?
- If the task is too big, Mr. Junk offers a comprehensive house cleaning service in Glasgow’s city centre and various surrounding areas, including Clarkston, Bishopbriggs, and Bearsden. Remember, while DIY house clearance is a rewarding endeavour, there’s no shame in calling in the experts when the task is beyond your capacity. We do more than just clear out your clutter; we create a clearer, and more spacious living environment for you. Mr. Junk is ready to help you reclaim your space. Call us or chat us today!
Get Started with Mr Junk Today
Are you ready to declutter and refresh your living space? Take the first step towards a clutter-free home in Glasgow with Mr Junk. Our team of professional, friendly, and eco-conscious experts is just a call away. Don’t let unnecessary items take up precious space in your home. Recapture the peace, comfort, and harmony of your living environment.
Reach out to us today for a free, no-obligation quote. Experience the difference of a thoroughly cleared home and the satisfaction of responsible, eco-friendly disposal with Mr Junk. Call us now or fill out contact form at the top of this page and let us help you reclaim your space. Your home is your sanctuary, and with Mr Junk, house clearance is more than just junk removal – it’s the start of a cleaner, more organised future.